The dial and hand swap is the most common Seiko mod. Swapping the dial and hands changes the character of the watch entirely; the result looks nothing like the base model. It is also where most first builds go wrong. The problem is almost always dust.
This guide covers the full process on an SKX007 with an NH35 movement, the most common setup in the community. The same steps apply to any SRPD5x build; the case geometry and movement footprint are essentially identical.
What You'll Need
Parts
- Replacement dial (NH35/SKX spec, 28.4–28.5mm)
- Replacement handset (NH35/SKX compatible tube sizes)
- New gaskets (optional but recommended)
Tools
- Case back wrench
- Hand setting & removal kit
- Rodico putty
- Watchmaker's loupe
- Clean cloth or silicone mat
Haven't got the tools yet? The tools guide covers what to buy and why. Don't skip it. The wrong case back tool scratches cases in seconds.
Choosing Your Dial and Hands
Decide on both before you order anything. The dial and handset work as a system. Committing to a dial without having a handset in mind is how you end up with combinations that look wrong. Use the Assemble Watches builder to preview combinations and check compatibility before buying.
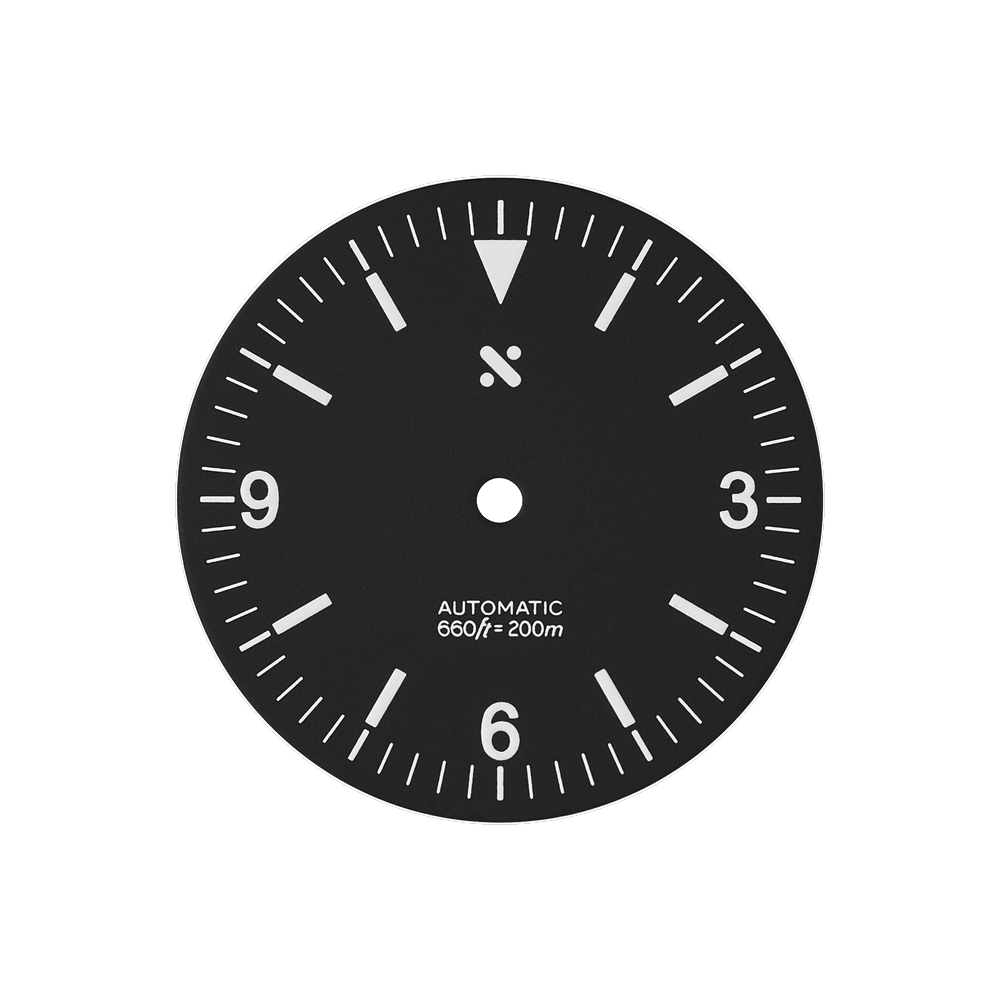
Minimalist Dial
1016 Explorer Dial
View on Namoki →
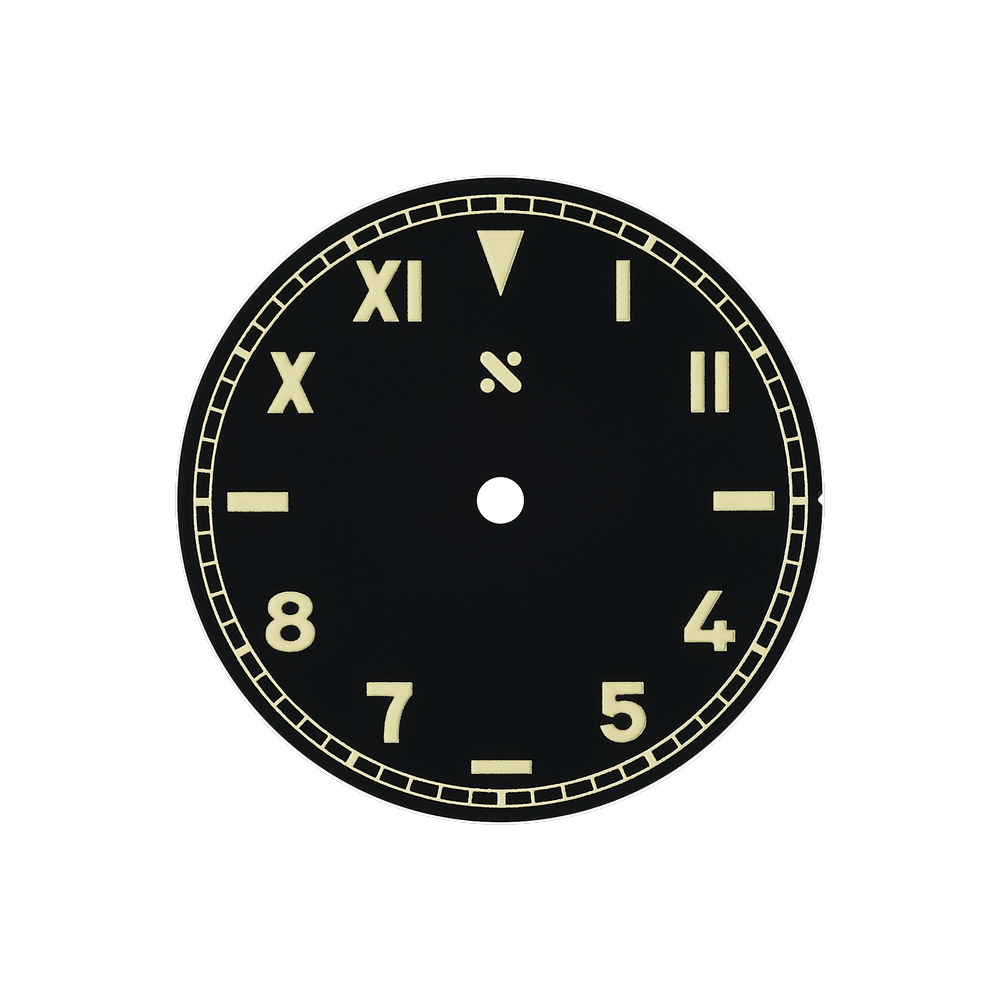
Fauxtina Dial
Vintage California Fauxtina
View on Namoki →
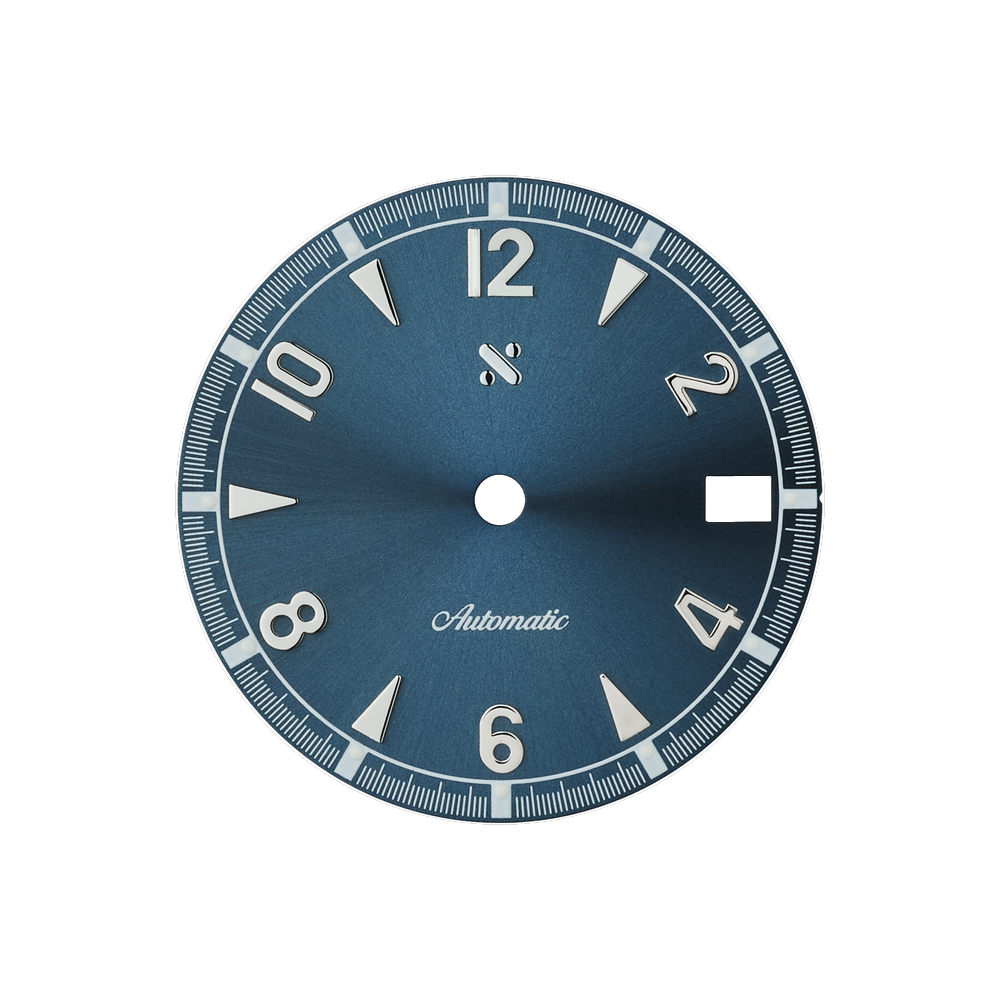
Sunburst Dial
Alpine Sunburst Blue
View on Namoki →
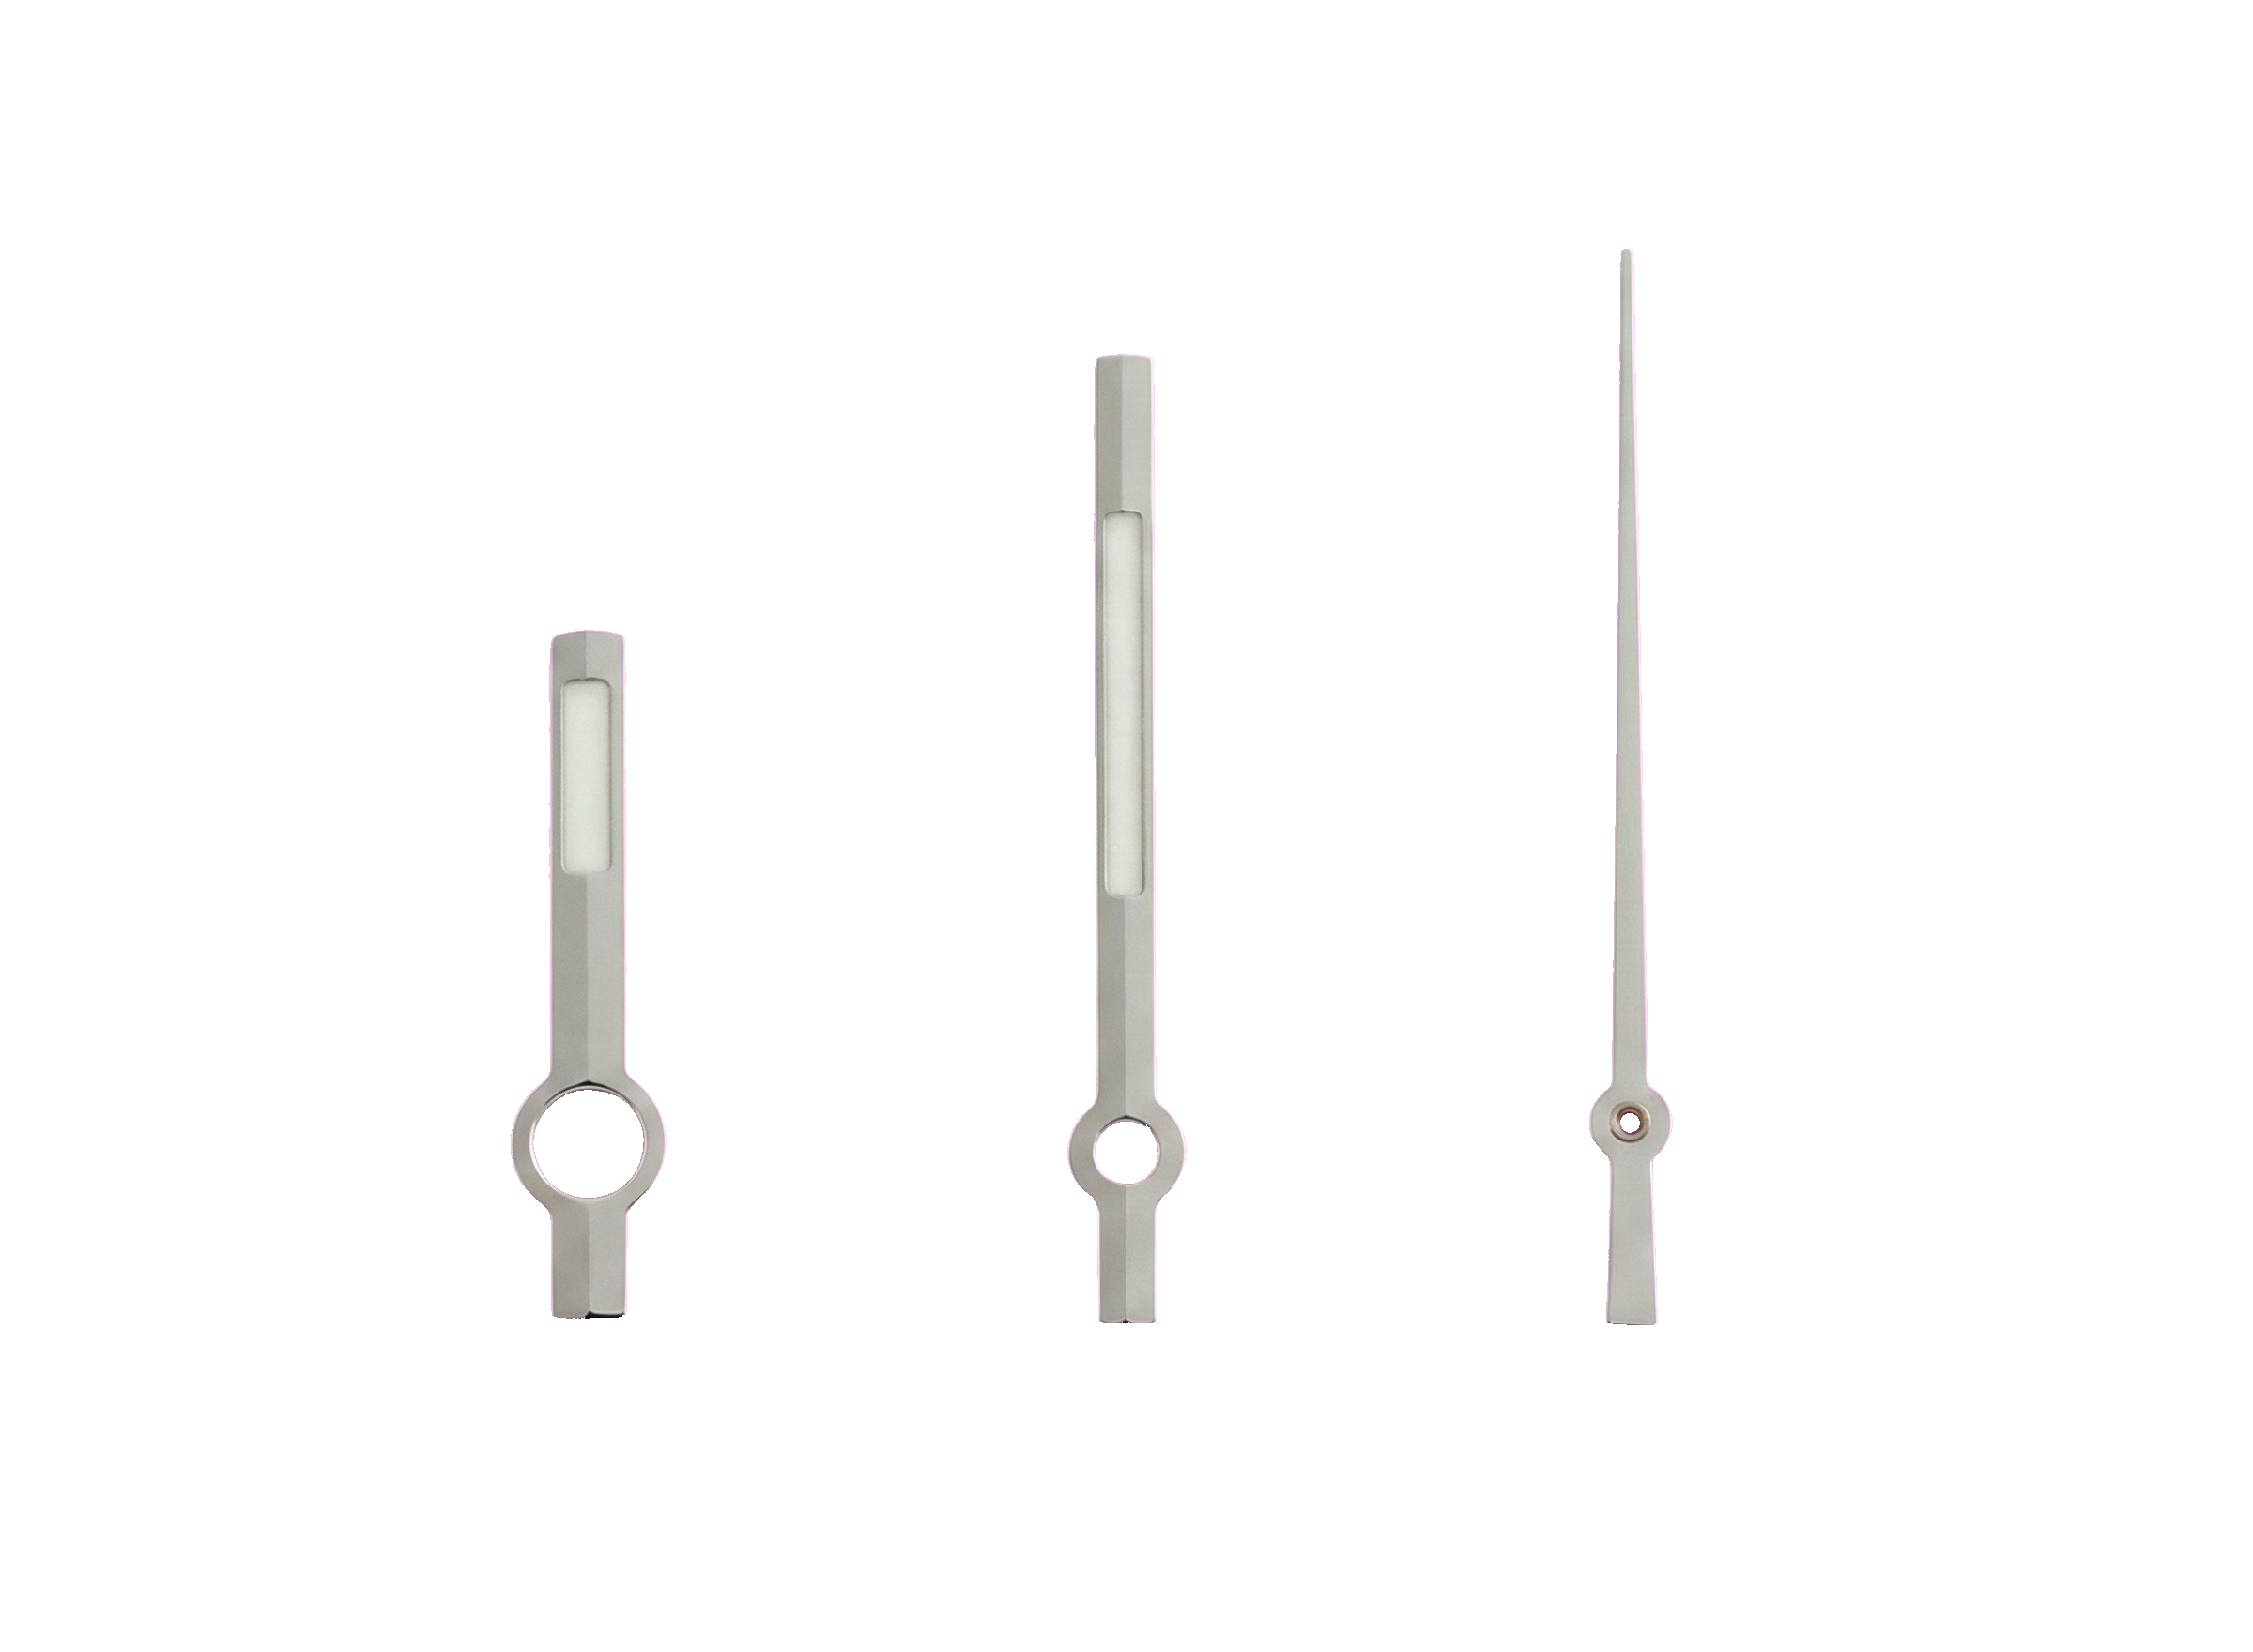
Handset
Baton Hands — Polished
View on Namoki →
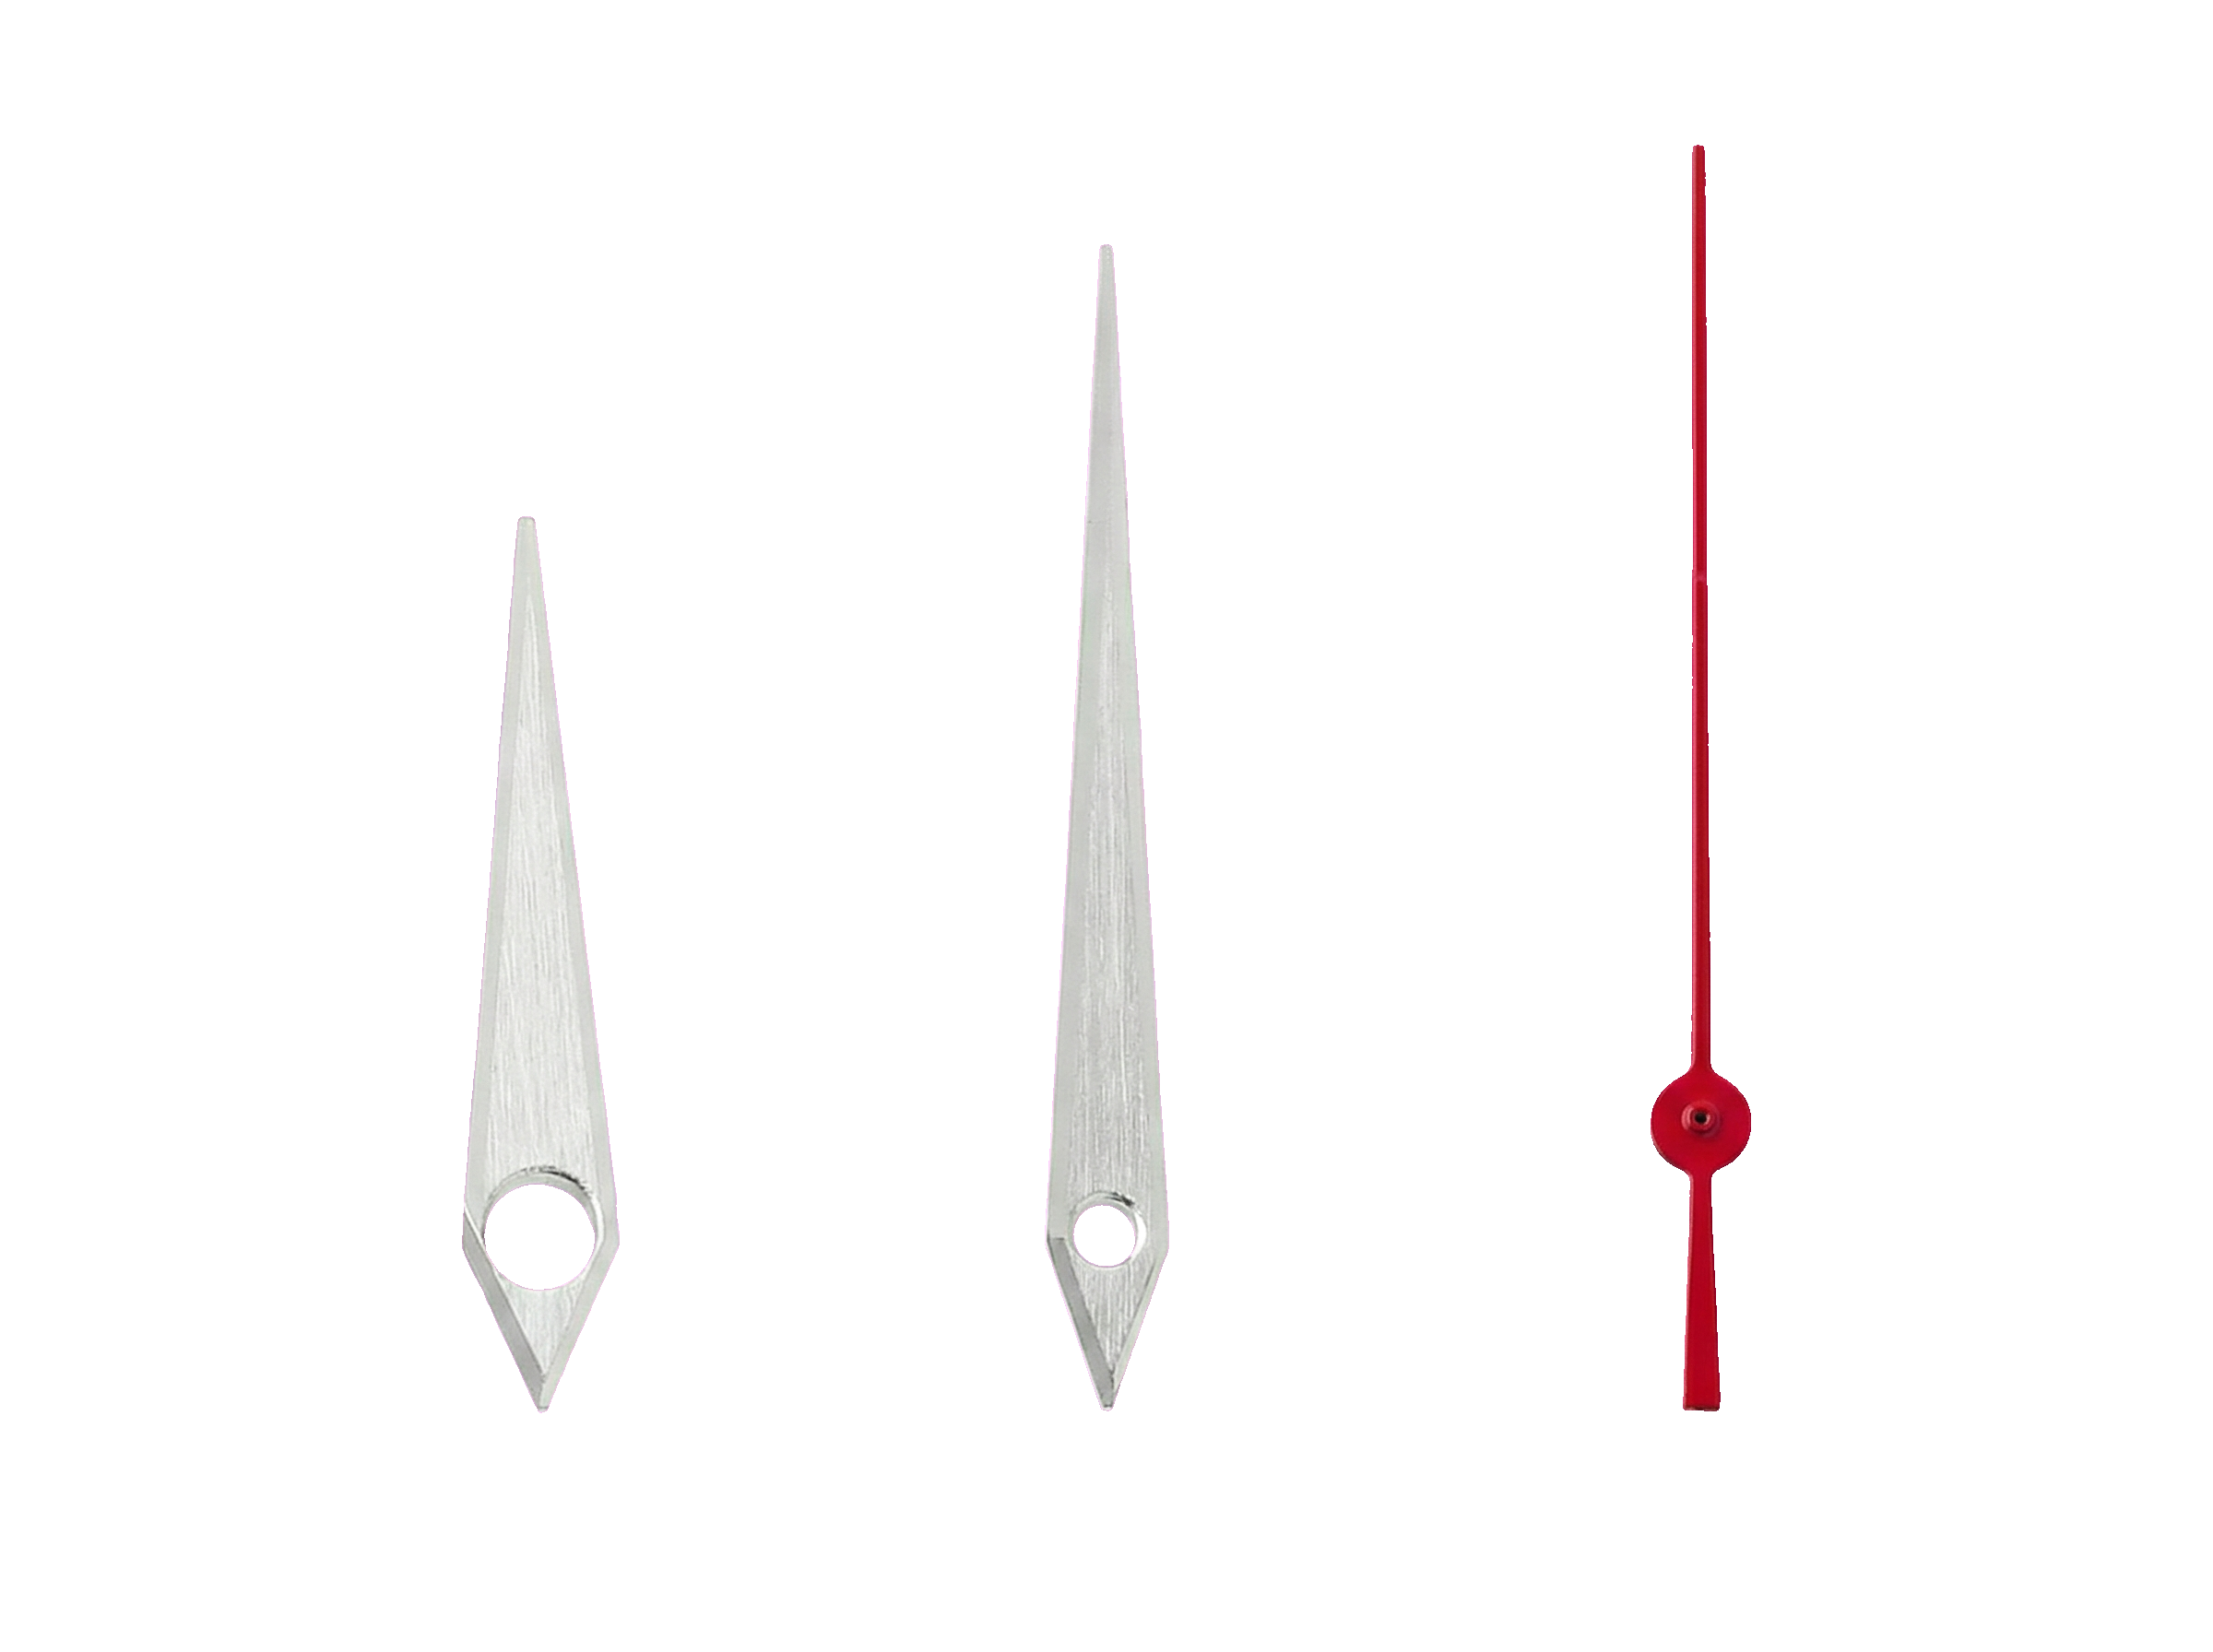
Handset
GS Dauphine Hands — Red Seconds
View on Namoki →
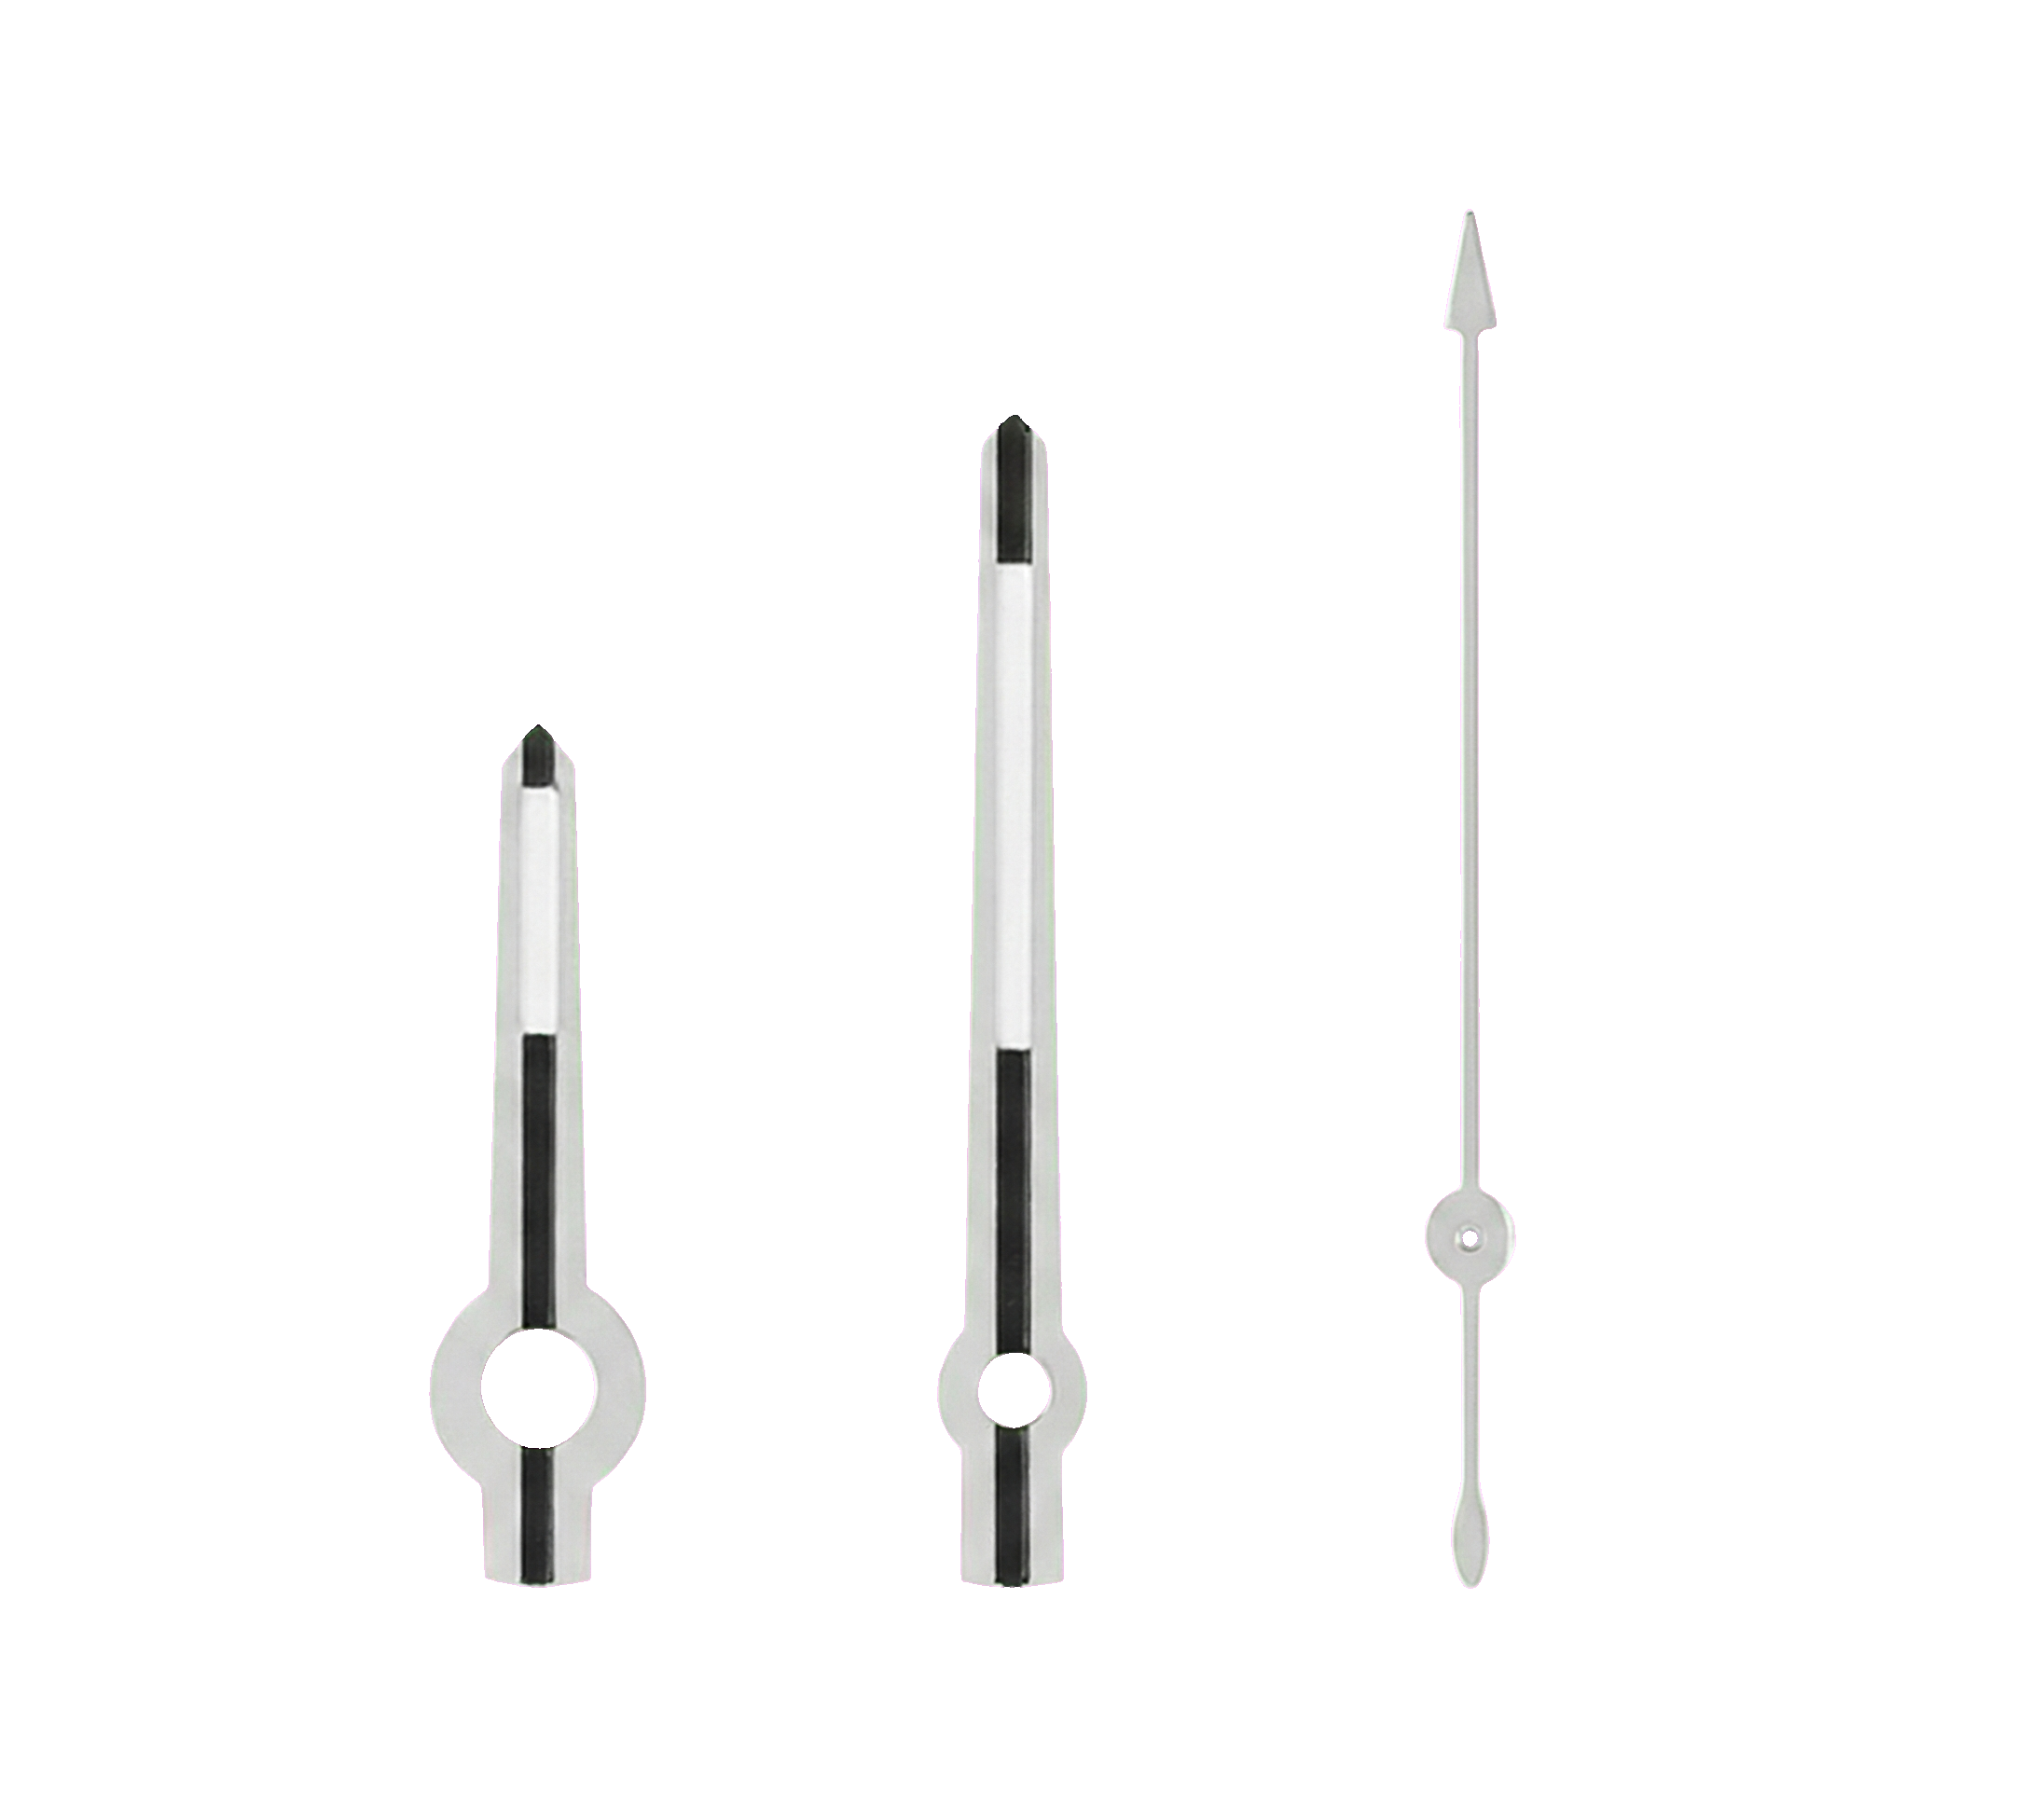
Handset
Daytona Style Hands — Steel
View on Namoki →
The Process, Step by Step
Prepare your workspace
Clean white cloth or silicone mat on a flat surface. Close windows and turn off fans; air movement carries dust. Wash your hands. Get your Rodico out and your loupe nearby. Dust is the most common cause of a failed build. All of this is necessary.
Open the case back
Fit your case back wrench to the back; most SKX007 and SRPD backs use a 4-point or 6-point notch. Grip firmly and turn anti-clockwise. Don't apply sideways pressure; you want downward force into the back, not lateral force that'll cause the wrench to slip and score the case. Set the back aside on your cloth.
Remove the movement
The movement sits inside a movement ring (called a movement ring or case ring). On the SKX007, this presses out from the back. No screws. Tilt the case gently and the movement will slide out. Set the movement face-down on your cloth with the dial side up. Don't put it crown-down on a hard surface.
Pull the crown and stem
Before removing the dial and hands, you need to release the stem. There's a small lever or click on the movement (the stem release): press it inward while gently pulling the crown, and the stem and crown will slide out. Keep the crown somewhere safe; you'll need it again.
Remove the hands
Use the hand puller (the flat-jaw type that grips under the hour hand). Work slowly. Position it evenly under the hour hand, protect the dial surface with a thin piece of paper or card to avoid scratches, and lever upward gently. The hour, minute, and seconds hands will come off together. Don't force it; if it's not moving, reposition the puller.
Remove the dial
The dial is held by two small dial feet that slot into holes in the movement. There are two small dial foot screws (or in some movements, dial foot clips) on the movement edge; loosen or release them and the dial will lift straight off. Handle the old dial by the edges only; there's no need for Rodico at this stage.
Clean the movement surface
Before the new dial goes in, use Rodico to pick up any dust from the movement surface and the movement ring area. Check through the loupe. This is the moment where most dust problems start: a clean movement surface means a clean dial side.
Fit the new dial
Handle the new dial with Rodico only, not bare fingers. Slot the dial feet into the movement holes and reseat the dial foot screws. Check through the loupe that the dial is sitting flat and the feet are properly seated. A dial that's not properly seated will rock slightly and is obvious once you close the case.
Refit the hands
Reseat the seconds hand first (it sits on the smallest pinion post), then the minute hand, then the hour hand. Use the leatherette-tipped pusher for each one, not fingers. Press straight down. After each hand, check through the loupe that it's sitting level and not touching the dial surface. The seconds hand especially wants to sit slightly proud of the dial.
Check hand clearance
With all three hands on, manually advance the time by rotating the crown through a full 12 hours and watch for any hands that clip each other or scrape the dial. This is easier to fix now, with the movement out of the case, than after it's assembled. Any clipping is usually a hand that's slightly canted; a gentle nudge with a non-metallic pusher is usually enough to correct it.
Refit the stem and close up
Slide the stem and crown back in, click the stem release back into position, seat the movement back into the case ring, and apply the case back. The case back screws on clockwise; hand-tight is enough, you don't need to torque it. If you replaced the gasket, it should be seated evenly in the channel before the back goes on.
The Problem Everyone Has the First Time
Dust. It's almost always dust. You close the case, put the watch on, take it to good light, and there's a speck visible under the crystal that wasn't there a minute ago.
The most common source is the dial surface between steps. You pick it up and put it down, each time picking up a little more ambient dust. The solution is to handle the dial as infrequently as possible, keep Rodico on hand, and use the loupe to check the dial surface before the case goes back together.
Second most common source is the crystal itself. If you're reusing the stock crystal, wipe it with a clean microfiber cloth before closing. If you've just fitted a new sapphire, it probably came with a protective film. Remove it completely and check both surfaces before assembly. A crystal that looks clean on the bench can reveal a smudge the moment you put it in direct sunlight.
Common Mistakes Worth Knowing
Ordering a dial without checking the date window position
The NH35 has its date at 3 o'clock. Some aftermarket dials are cut for 4.2 o'clock (a common Miyota position). It won't look right if the aperture doesn't align with the movement's date wheel. The dial listing should specify; if it doesn't, ask the vendor.
Forcing a hand that won't seat
If a hand won't go on smoothly, something is misaligned; usually the tube isn't sitting straight on the pusher. Don't press harder. Remove the pusher, reposition, try again. A forced hand that goes on wrong will clip the next hand or sit at an angle.
Not pressure testing after closing the case
Any caseback work invalidates the original water resistance rating. If you wear the watch anywhere near water, get it pressure tested by an independent watchmaker; most will do it for a few pounds and it takes five minutes.
Forgetting to check hand clearance before closing
Advance through a full 12 hours with the crown before the movement goes back in the case. Fixing a hand that's clipping is easy on the bench and genuinely annoying inside an assembled case.